
While the Steam Deck has gained acclaim as an excellent emulation platform, setting up emulators like EmuDeck can be a bit intricate. Here’s a step-by-step guide on how to play emulated games on the Steam Deck using EmuDeck
Should You Use EmuDeck to Emulate Games on Steam Deck?

The initial decision in setting up emulated games on the Steam Deck involves selecting an emulator, and for this guide, EmuDeck is the chosen option due to its user-friendly platform. EmuDeck simplifies the installation process and manages the folder structure for emulators. This is particularly beneficial considering the Steam Deck operates on a Linux-based operating system by default.
While there are various emulators available for the Steam Deck, EmuDeck stands out by not only handling installations but also managing updates and integrating third-party tools for added convenience.
However, one potential drawback of EmuDeck is that it might install more emulators than you plan on using. The upside is that you can uninstall and trim down the selection after the initial setup, customizing it to your preferences.
For those who prefer a more manual approach, individual emulator installations can be found on the Discover store. If EmuDeck aligns with your preferences, the next steps in the setup process will be covered, guiding you through a seamless experience of preparing your Steam Deck for emulated gaming.
How to Set Up EmuDeck on a Steam Deck
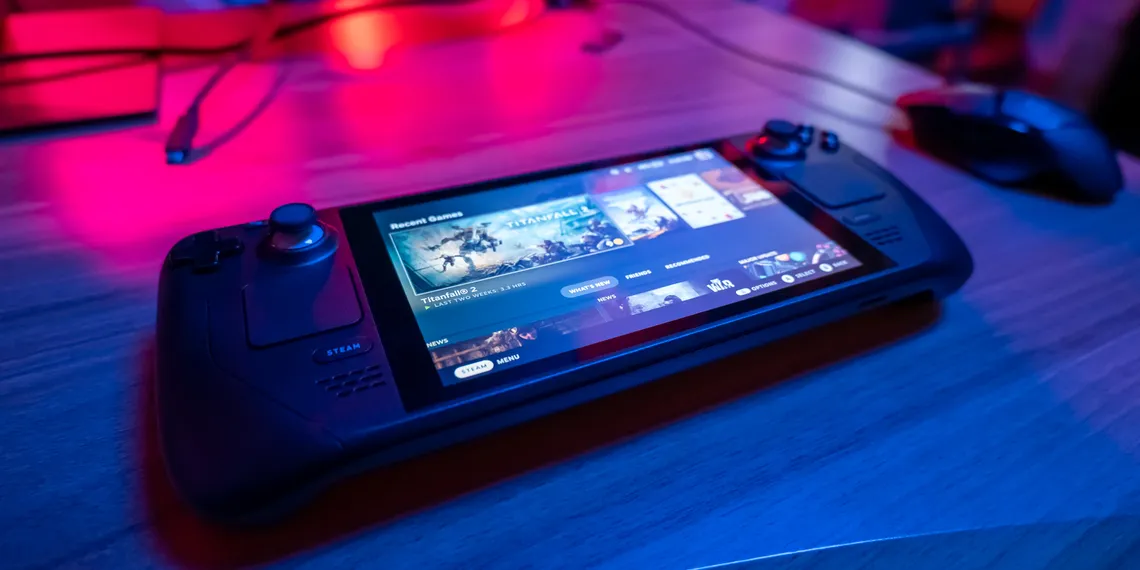
Before proceeding with EmuDeck setup on the Steam Deck, it’s crucial to ensure you are comfortable navigating in desktop mode. To switch to Desktop Mode, press and hold the power button down and select “Switch to Desktop.”
Once in Desktop Mode, visit the EmuDeck website on your Steam Deck and download the install package directly onto the device.
Ensure the install package is placed on your Steam Deck’s desktop. Locate the file in your Downloads folder and drag and drop it onto the desktop. This step is essential for the script to run successfully.
Execute the script. A warning may appear, asking if you’re sure the file is safe. Proceed by selecting “Continue.”
During the installation process, several new windows may open as the script downloads and installs core files. Eventually, you’ll be presented with two options: Easy Mode or Custom Mode.
Transfer Your ROMs to EmuDeck:
Familiarize yourself with the location where ROMs should be placed and any additional requirements, such as BIOS files.
Depending on where EmuDeck is installed, the Emulation folder will be in either your Home folder or on the root of your SD card.

EmuDeck is designed so that all emulators share a common folder. For instance, the roms folder contains subfolders representing each console that can be emulated. Placing a ROM in the corresponding console folder allows multiple emulators, such as Yuzu and Ryujinx for Nintendo Switch, to access and run that ROM.

Verify which folder corresponds to each console by opening the systems.txt file. Additionally, each folder contains a systeminfo.txt file detailing supported ROM file types.
BIOS files can be placed in the bios folder and will be accessible by the necessary emulators. You can determine the required system files by navigating to the main screen of EmuDeck, clicking on “Manage Emulators,” and selecting “Manage” for any specific emulator.

While most emulators in EmuDeck come with relevant system files, some, like DuckStation, may require you to provide your own BIOS file.
Note that the Steam Deck lacks a native feature for file transfers from other devices. Utilize hardware adapters to connect a storage device, such as a USB drive, or find alternative methods to transfer the required files.
Add Emulators to Your Steam Deck’s Gaming Mode
EmuDeck offers a solution to the inconvenience of launching into desktop mode every time you want to play emulated games. Within the Tools & Stuff category, you’ll find the Steam ROM Manager.
 Launch Steam ROM Manager:
Open EmuDeck and go to Tools & Stuff.
Choose Steam ROM Manager and confirm with “Yes” on the warning message.
Automate Shortcut Creation:
The Steam ROM Manager streamlines the process of adding shortcuts to your Steam library, allowing you to launch emulated games directly from gaming mode.
It scans your emulation library, creating individual game shortcuts.
Copy ROMs Beforehand:
Ensure your ROMs are copied over before using this feature.
Preview and Parse:
Hit “Preview” and then “Parse” for the automation process.
A list of games will be generated.
Save to Steam:
If the list is accurate, click “Save to Steam.”
 Access Shortcuts in Gaming Mode:
The shortcuts will be available under “Non-Steam Games” when you launch into gaming mode on your Steam Deck.
Play Emulated Games Easily:
When ready to play, select the desired emulated game shortcut for a seamless gaming experience.
If an emulator appears instead of the game initially, don’t worry – it may take a few seconds to redirect.
EmuDeck’s set-and-forget functionality ensures a hassle-free experience, allowing you to enjoy emulated games on your Steam Deck with ease.